Your Cart is Empty
sign up for our newsletter and save on your first order!

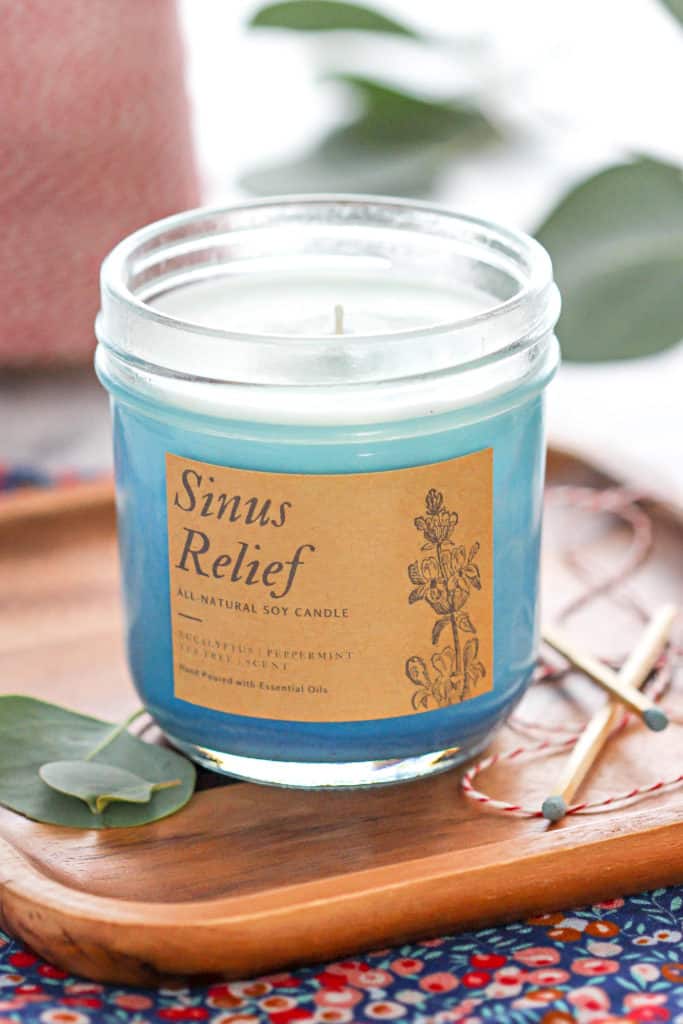
Do you suffer from seasonal allergies? Is your nose stuffy and congested? One way I like to combat stuffiness is with a aromatherapy candle. This DIY Sinus Relief Candle will help open your nasal passages with a calming and relaxing scent.
Candle making is an easy process to do at home. There are no special tools or equipment needed to make this sinus relief candle. Just a few simple steps and you will be a candle maker in no time.
Hello there! This is Katie from the blog, Purely Katie. I love to create easy and budget-friendly projects. I have many candle making tutorials on my blog and thought that I would share a new recipe with you on BOP.
I suffer from seasonal allergies so I thought I would make a aromatherapy candle to help relieve some of my symptoms. This DIY Sinus Relief Candle is made with eucalyptus, peppermint and tea tree essential oils.
Not only does this candle smell amazing, but the benefits from the essential oils will help with sinus symptoms can have a calming effect.
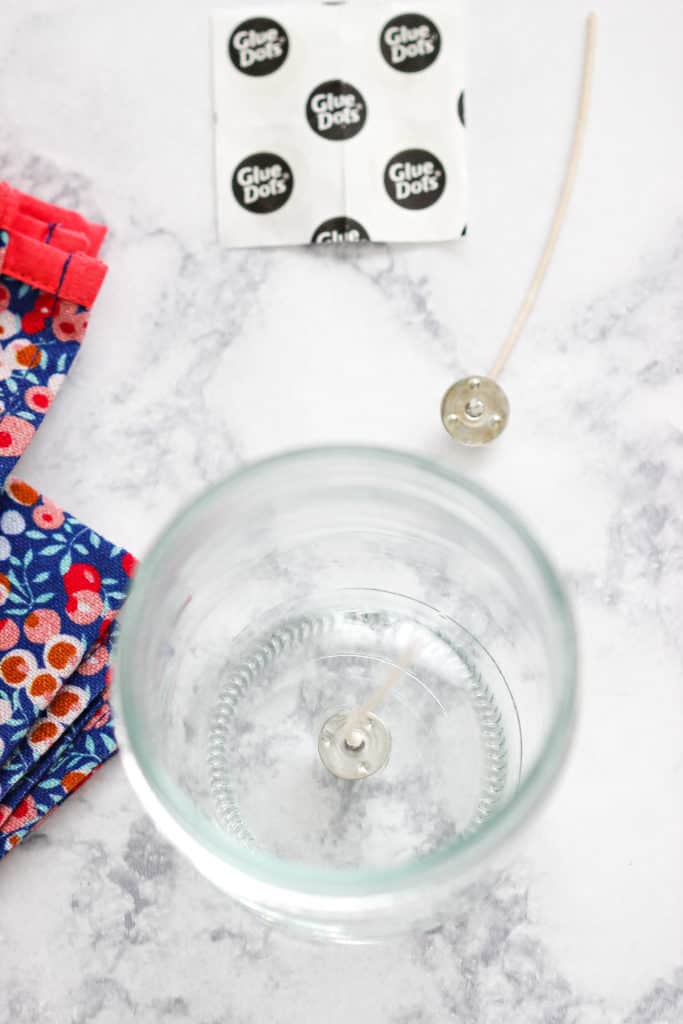
Step 1: Start by applying one glue dot to the metal tab on the candle wick. Then, place the tab in the bottom center of a glass jar (I am using a 8 oz glass jar). Set aside.
If you have never used Glue Dots for candle making, they are a game changer. The adhesive holds the wick in place without using a clamping system.
Step 2: Place 1 and a half cups of natural soy wax flakes for an 8 oz glass container and 1 tablespoon coconut oil in a microwavable bowl. Microwave in 30 second increments, stirring in between, until the supplies are melted I added 20 drops of eucalyptus and peppermint essential oils and 15 drops of tea tree essential oil to the melted wax. You can add desired amount of oils.
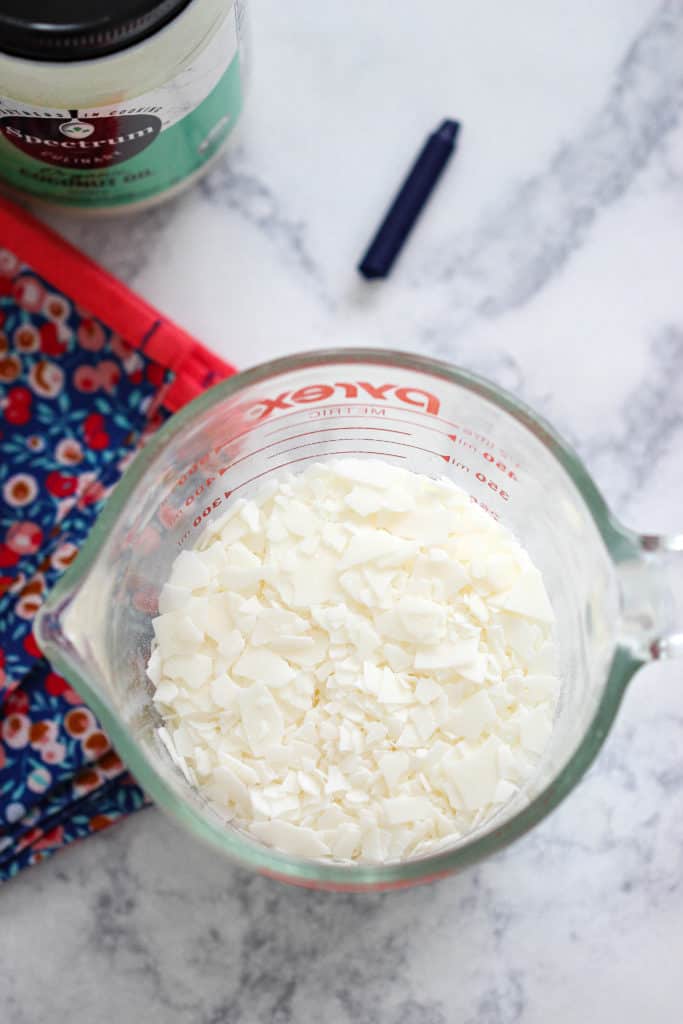
Side Note: I am using a blue crayon to color my wax. This step is optional. If you use a crayon, remove the paper and place it in the bowl with the wax and coconut oil and melt.
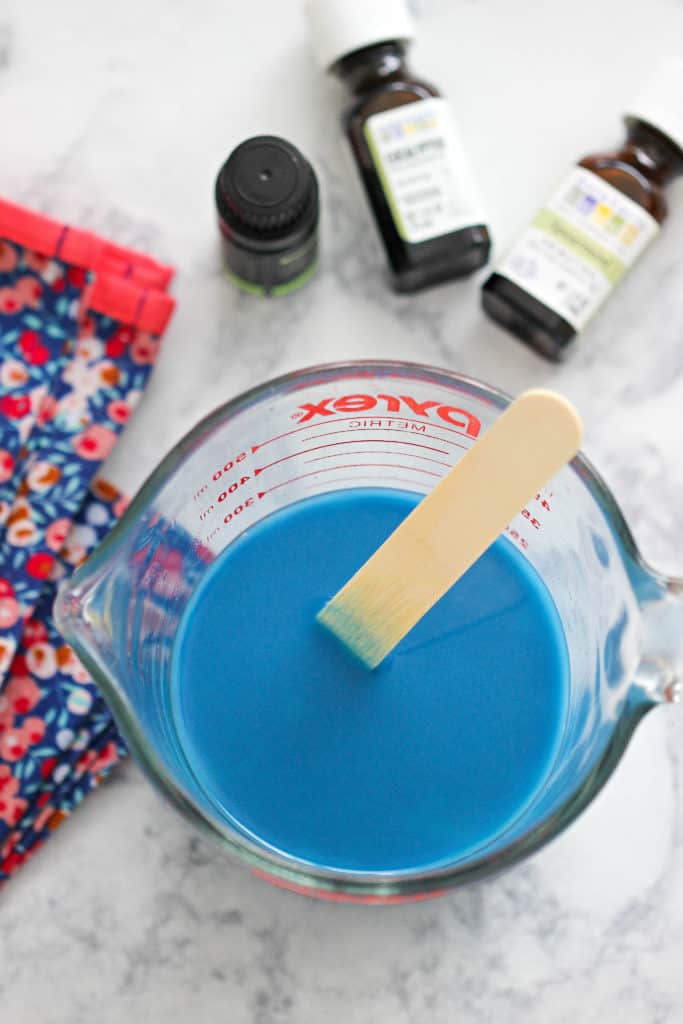
Step 3: Pour the scented liquid candle wax into the prepared jar. Set aside and let harden. The candle wax will change to a white color once it is completely set and hardened. Trim the wick by cutting it with a pair of scissors.
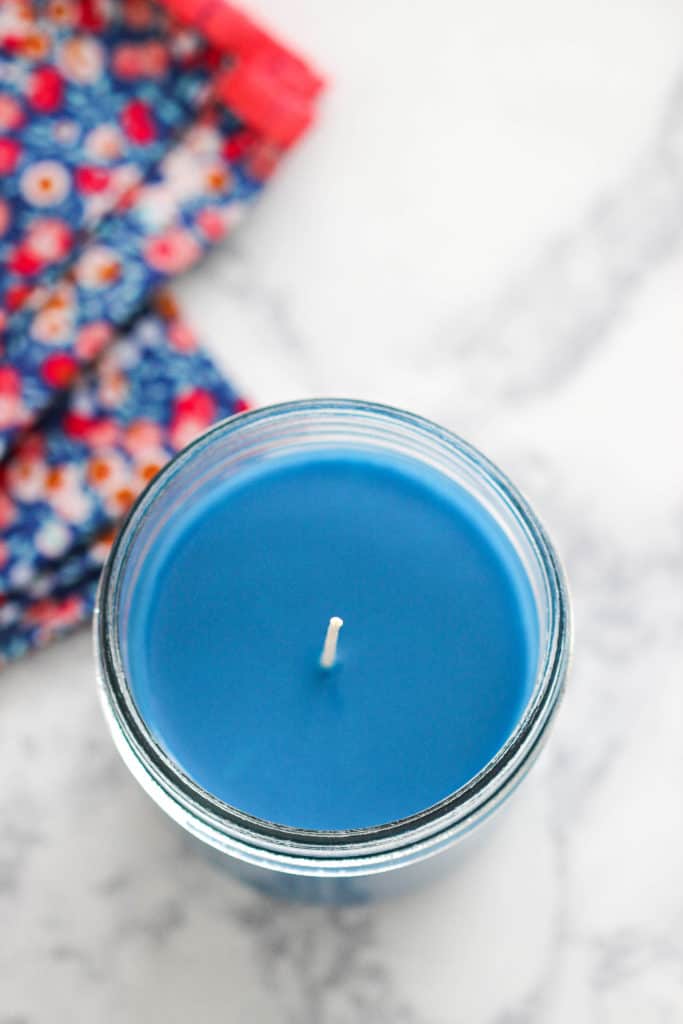
Finally, I made simple label for your candle. This would make a great all-occasion gift for someone special. I really like how the kraft brown sticker labels look on these jars. I used a pair of scissors to cut the label. You can resize the printable to fit your container.
Please Note: All printables and downloads designed by Purely Katie are for PERSONAL USE ONLY. Please do not alter the file or claim it as your own. This file is not intended for resale, nor are the printed versions of this file.
Thank you so much for letting me share my DIY Sinus Relief Candle tutorial. It was a pleasure to be here on Barn Owl Primitives today! I hope you stop by my blog, Purely Katie for more great recipes and easy DIY craft project ideas.
You can also find me here: Facebook | Pinterest | Instagram
I’m got to try this. Great idea thanks
I was wondering what other wax I could use. I am allergic to Soy. I hope you can give me some ideas.
Thank you for such a lovely idea! Christmas is almost there with severall family members suffering seasonal allergies this candle will Be most wellcomed !!!thank you !
Well, I have to make this now! Great idea.
What a wonderful DIY project! I’ve never made a candle before, but now after reading this helpful post, I feel like it’s something I could do successfully. I agree that beautiful homemade candles are great for gift giving. They’re a sweet way of showing love for friends, neighbors and families during this stay-at-home time. Just leave it on their doorstep with a cheerful little note!
Great for people with allergies. I have a list of friends that I can make these for. Thank you.
Comments will be approved before showing up.
Heather S. Turpin
January 27, 2023
Thank you for sharing this & I have so many family members that can use this type of candles so I can not wait to start making them!!! Thanks again for sharing this with us!!! Much Love From A Bama Mom 🙏🏻🫶🏻🍀🍀🍀🐘♥️🚚🚛✝️🎅🏼🎄☃️❄️🎁🙏🏻🎉🫶🏻♥️♥️♥️